Your First Project
A step-by-step walkthrough of uploading a document, exploring it with the AI assistant, and extracting your first insights.
In this tutorial, you’ll walk through the complete Ragnerock workflow from start to finish. By the end, you’ll have uploaded a document, explored it with the Research Agent, reviewed cited sources, queried structured data, and created your first operator, covering the foundations for using Ragnerock in your own research.
No prior experience with Ragnerock is required. If you have a web browser and a document to analyze, you’re ready.
What you’ll need:
- A Ragnerock account (sign up at ragnerock.com)
- A sample document. We’ll use a publicly available SEC 10-K filing. Download a sample 10-K filing or grab one from SEC EDGAR.
1. Sign In and Select a Project
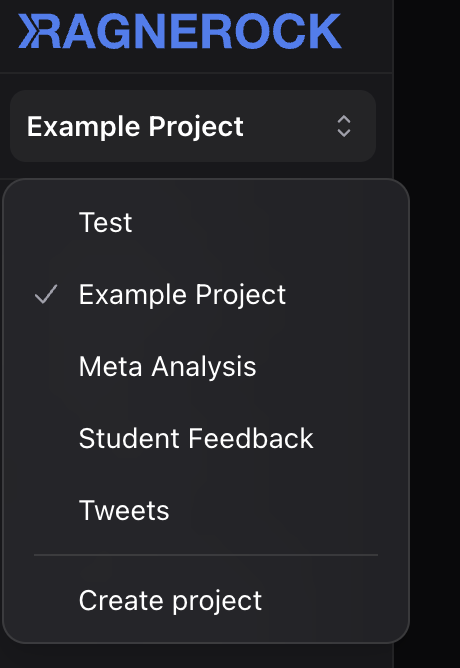
Sign in at ragnerock.com with your account credentials. After signing in, you’ll see the project selector in the sidebar. Select an existing project or click New Project to create one.
Give your project a descriptive name like “SEC Filing Analysis”. This is where all your documents, annotations, and notebooks will live.
2. Upload a Document
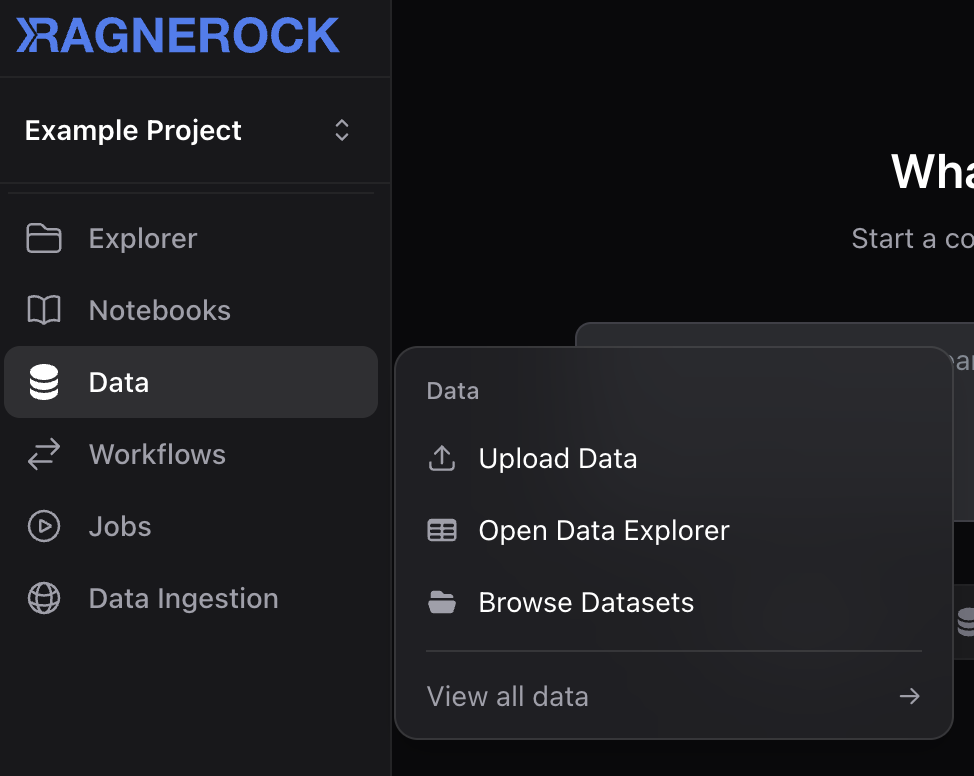
- Click the Upload button in the toolbar (or drag and drop a file onto the workspace)
- In the upload dialog, select or drag your PDF file
- Optionally assign a dataset to organize your documents
- Click Upload
When you upload, several things happen behind the scenes:
- The file is uploaded to storage
- Text extraction pulls the readable content from the PDF
- Chunking splits the text into meaningful segments (paragraphs and sentences)
- Embedding generation creates vector representations of each chunk for semantic search
3. Check Processing Status
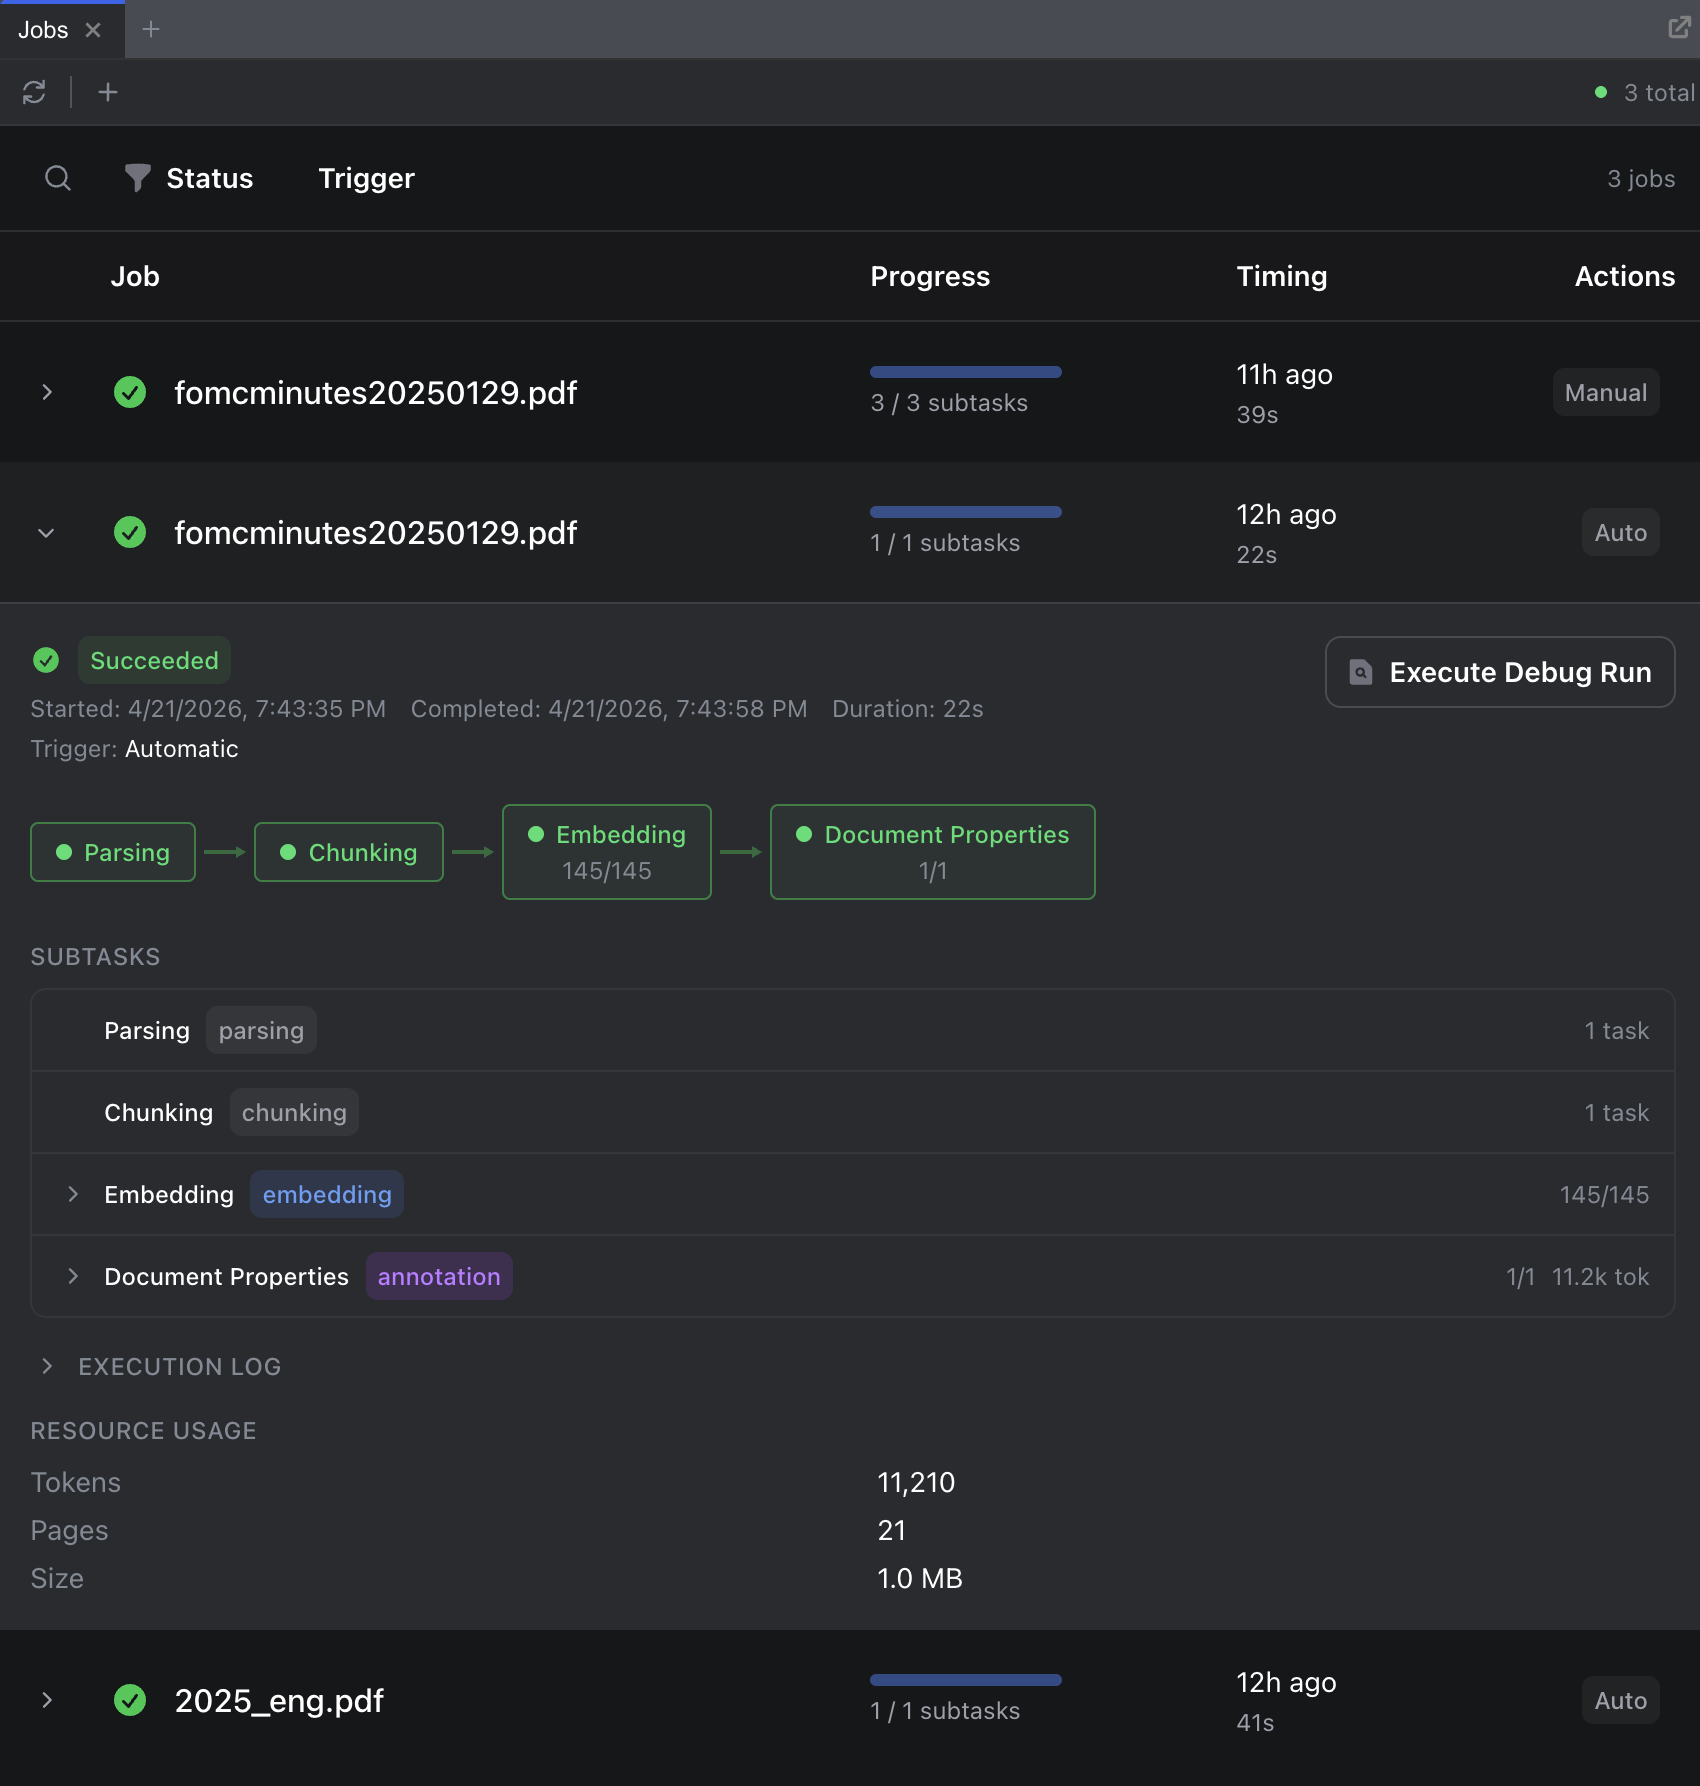
Processing takes a moment, anywhere from a few seconds to a couple of minutes depending on the document size.
Open the Jobs dashboard from the sidebar for detailed, real-time processing information including timelines, logs, and error details. You’ll also see a status badge in the document list as a quick indicator:
| Badge | Meaning |
|---|---|
| Pending | Queued for processing |
| Processing | Text extraction, chunking, and embedding in progress |
| Ready | Fully processed and searchable |
| Error | Processing failed. Check the Jobs dashboard for details. |
Once the status shows Ready, your document is fully indexed and searchable.
4. Explore the Document
In the Data section of the sidebar, you’ll see your uploaded files listed with their name and metadata. Click the Open button on any file to open it in the document viewer, where you can see the actual PDF alongside the extracted content.
The document viewer shows:
- Pages: The document broken down page by page, with extracted text for each
- Chunks: The document split into semantic segments (paragraphs and sentences). These are the units the Research Agent searches.
- Metadata: File size, upload date, processing status, and any custom metadata
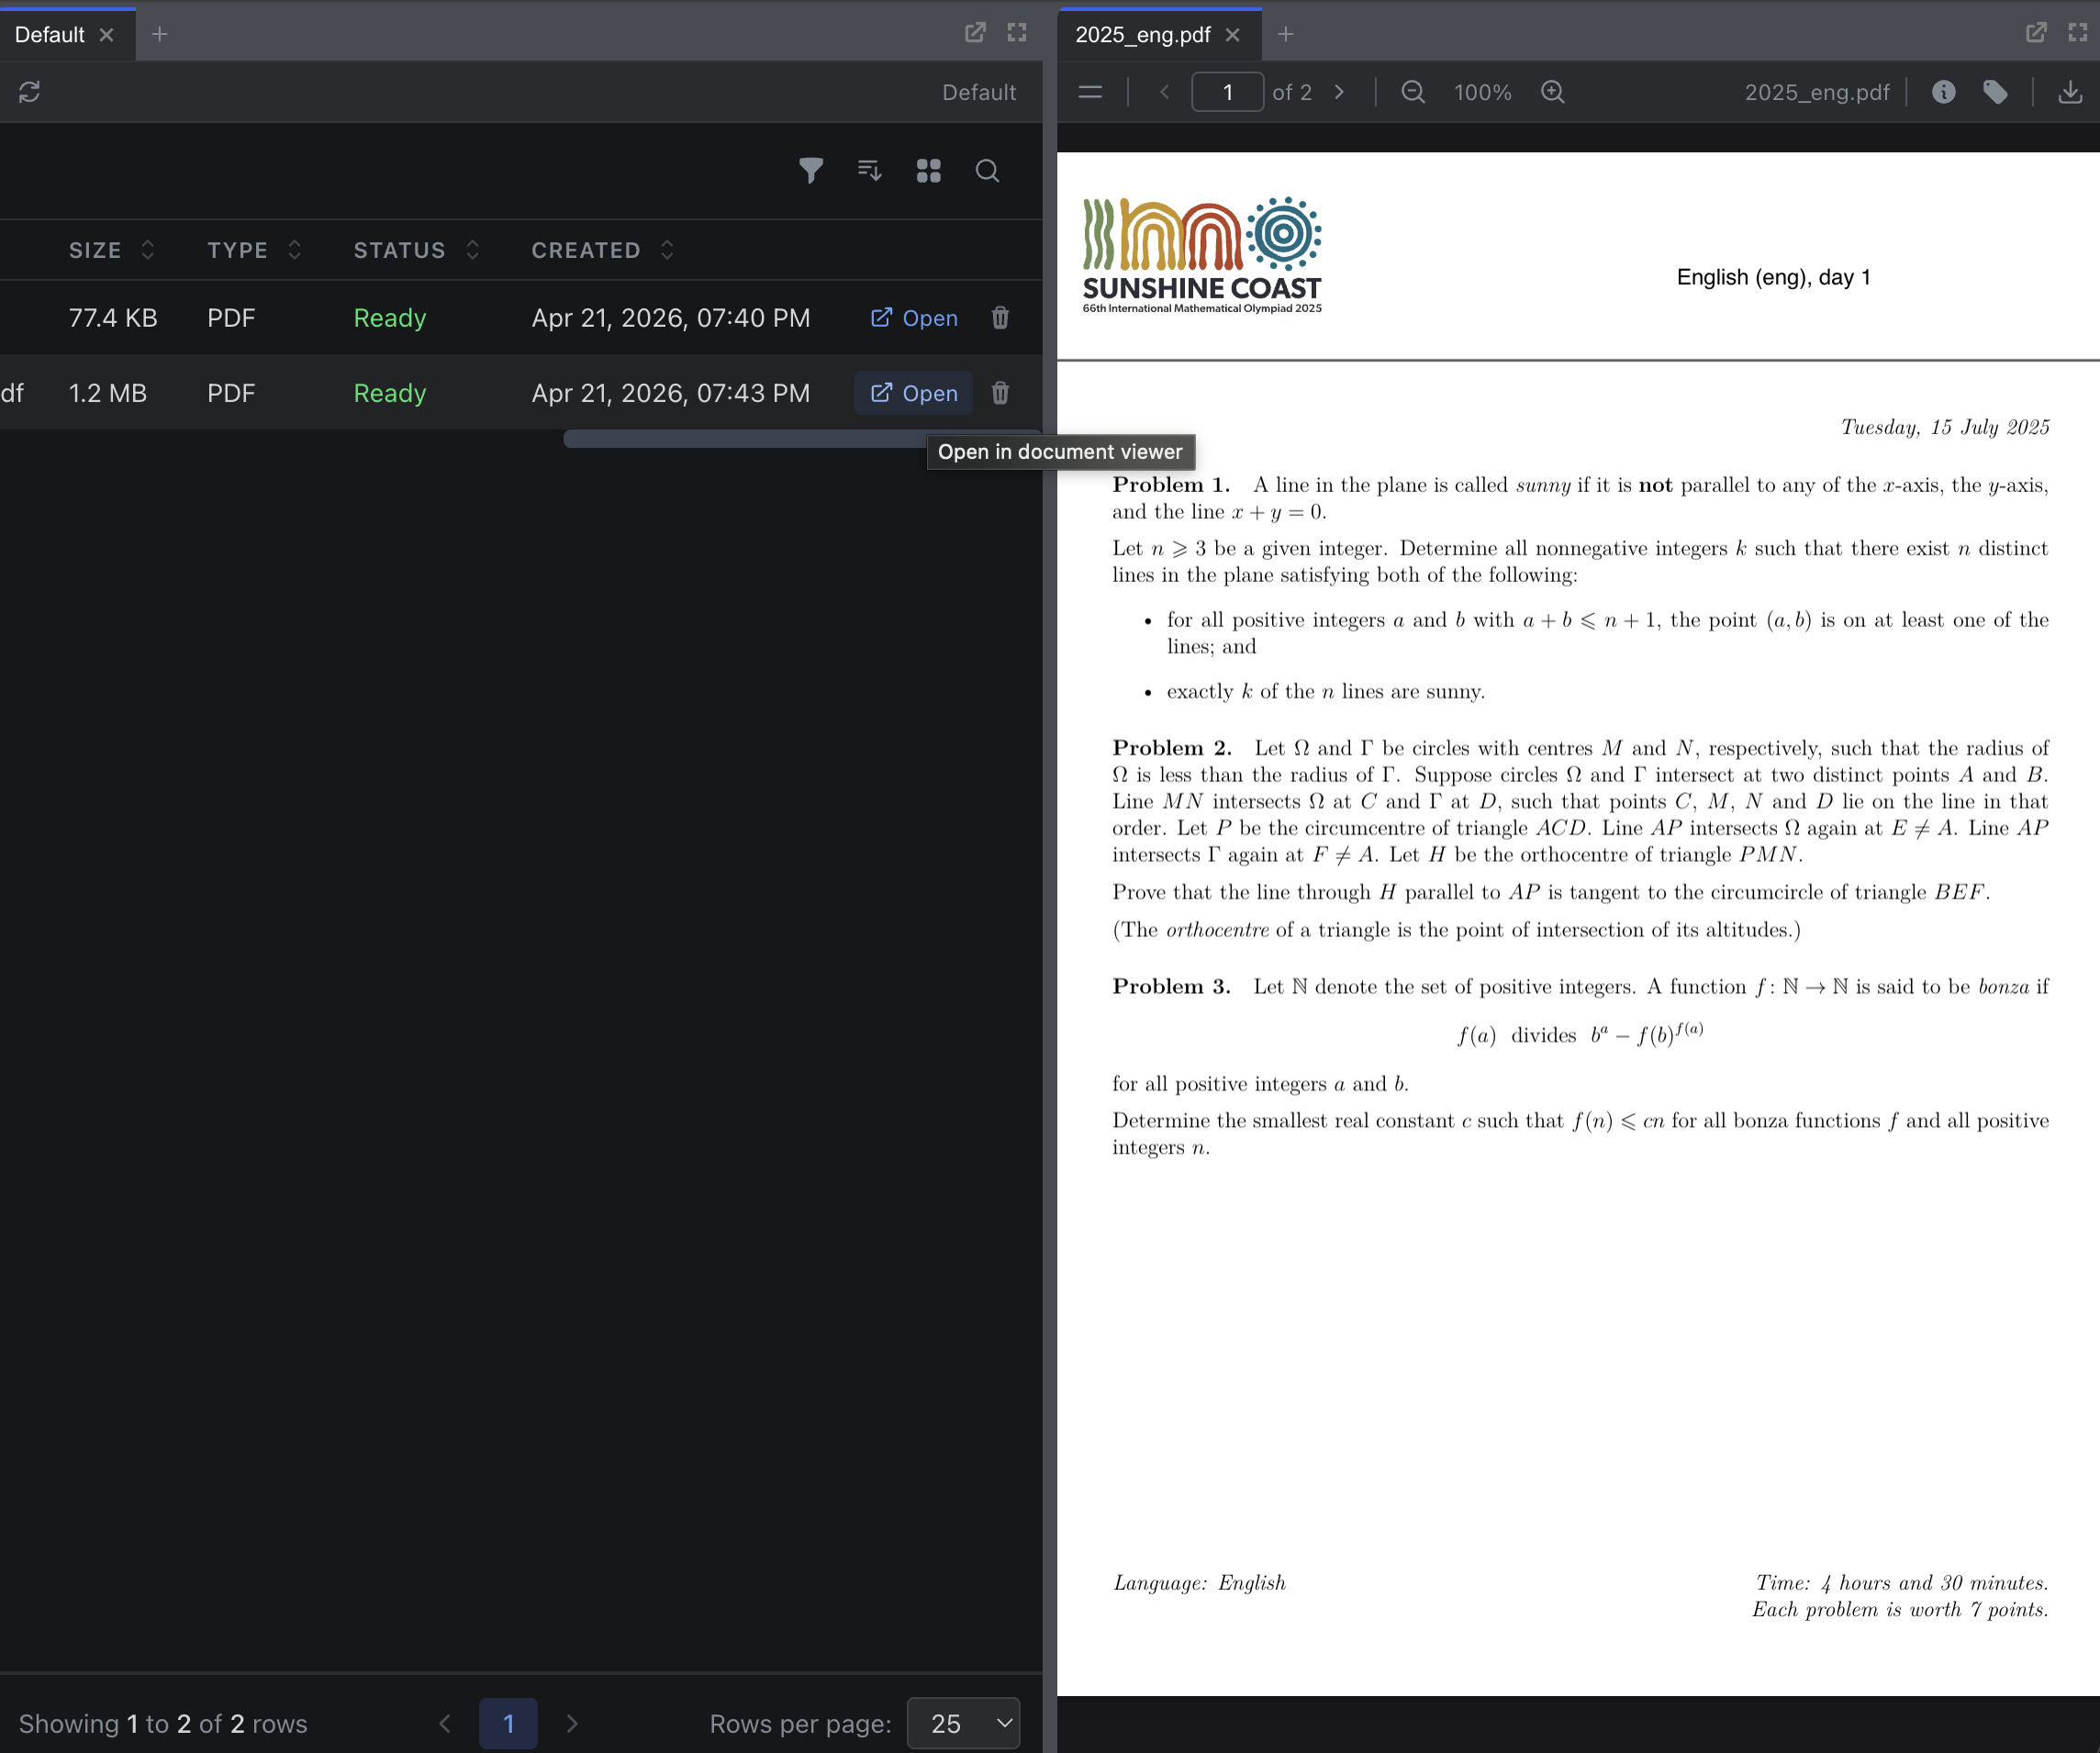
Take a moment to browse through the extracted text. If you uploaded a 10-K filing, you’ll see sections like “Risk Factors,” “Management’s Discussion and Analysis,” financial statements, and notes. All of this is now searchable, not just by keywords, but by meaning.
5. Open a Notebook and Ask Questions
Notebooks are interactive workspaces where you can have a conversation with the Research Agent about your documents and then turn those insights into data.
- Navigate to the Notebooks section in the sidebar
- Click New to create a notebook and give it a name like “10-K Exploration”
- Click the + button in the message input to attach your uploaded document. This tells the agent to focus on that specific file. (If you skip this, the agent searches across all your documents.)
- Type a question in the message input and press Enter
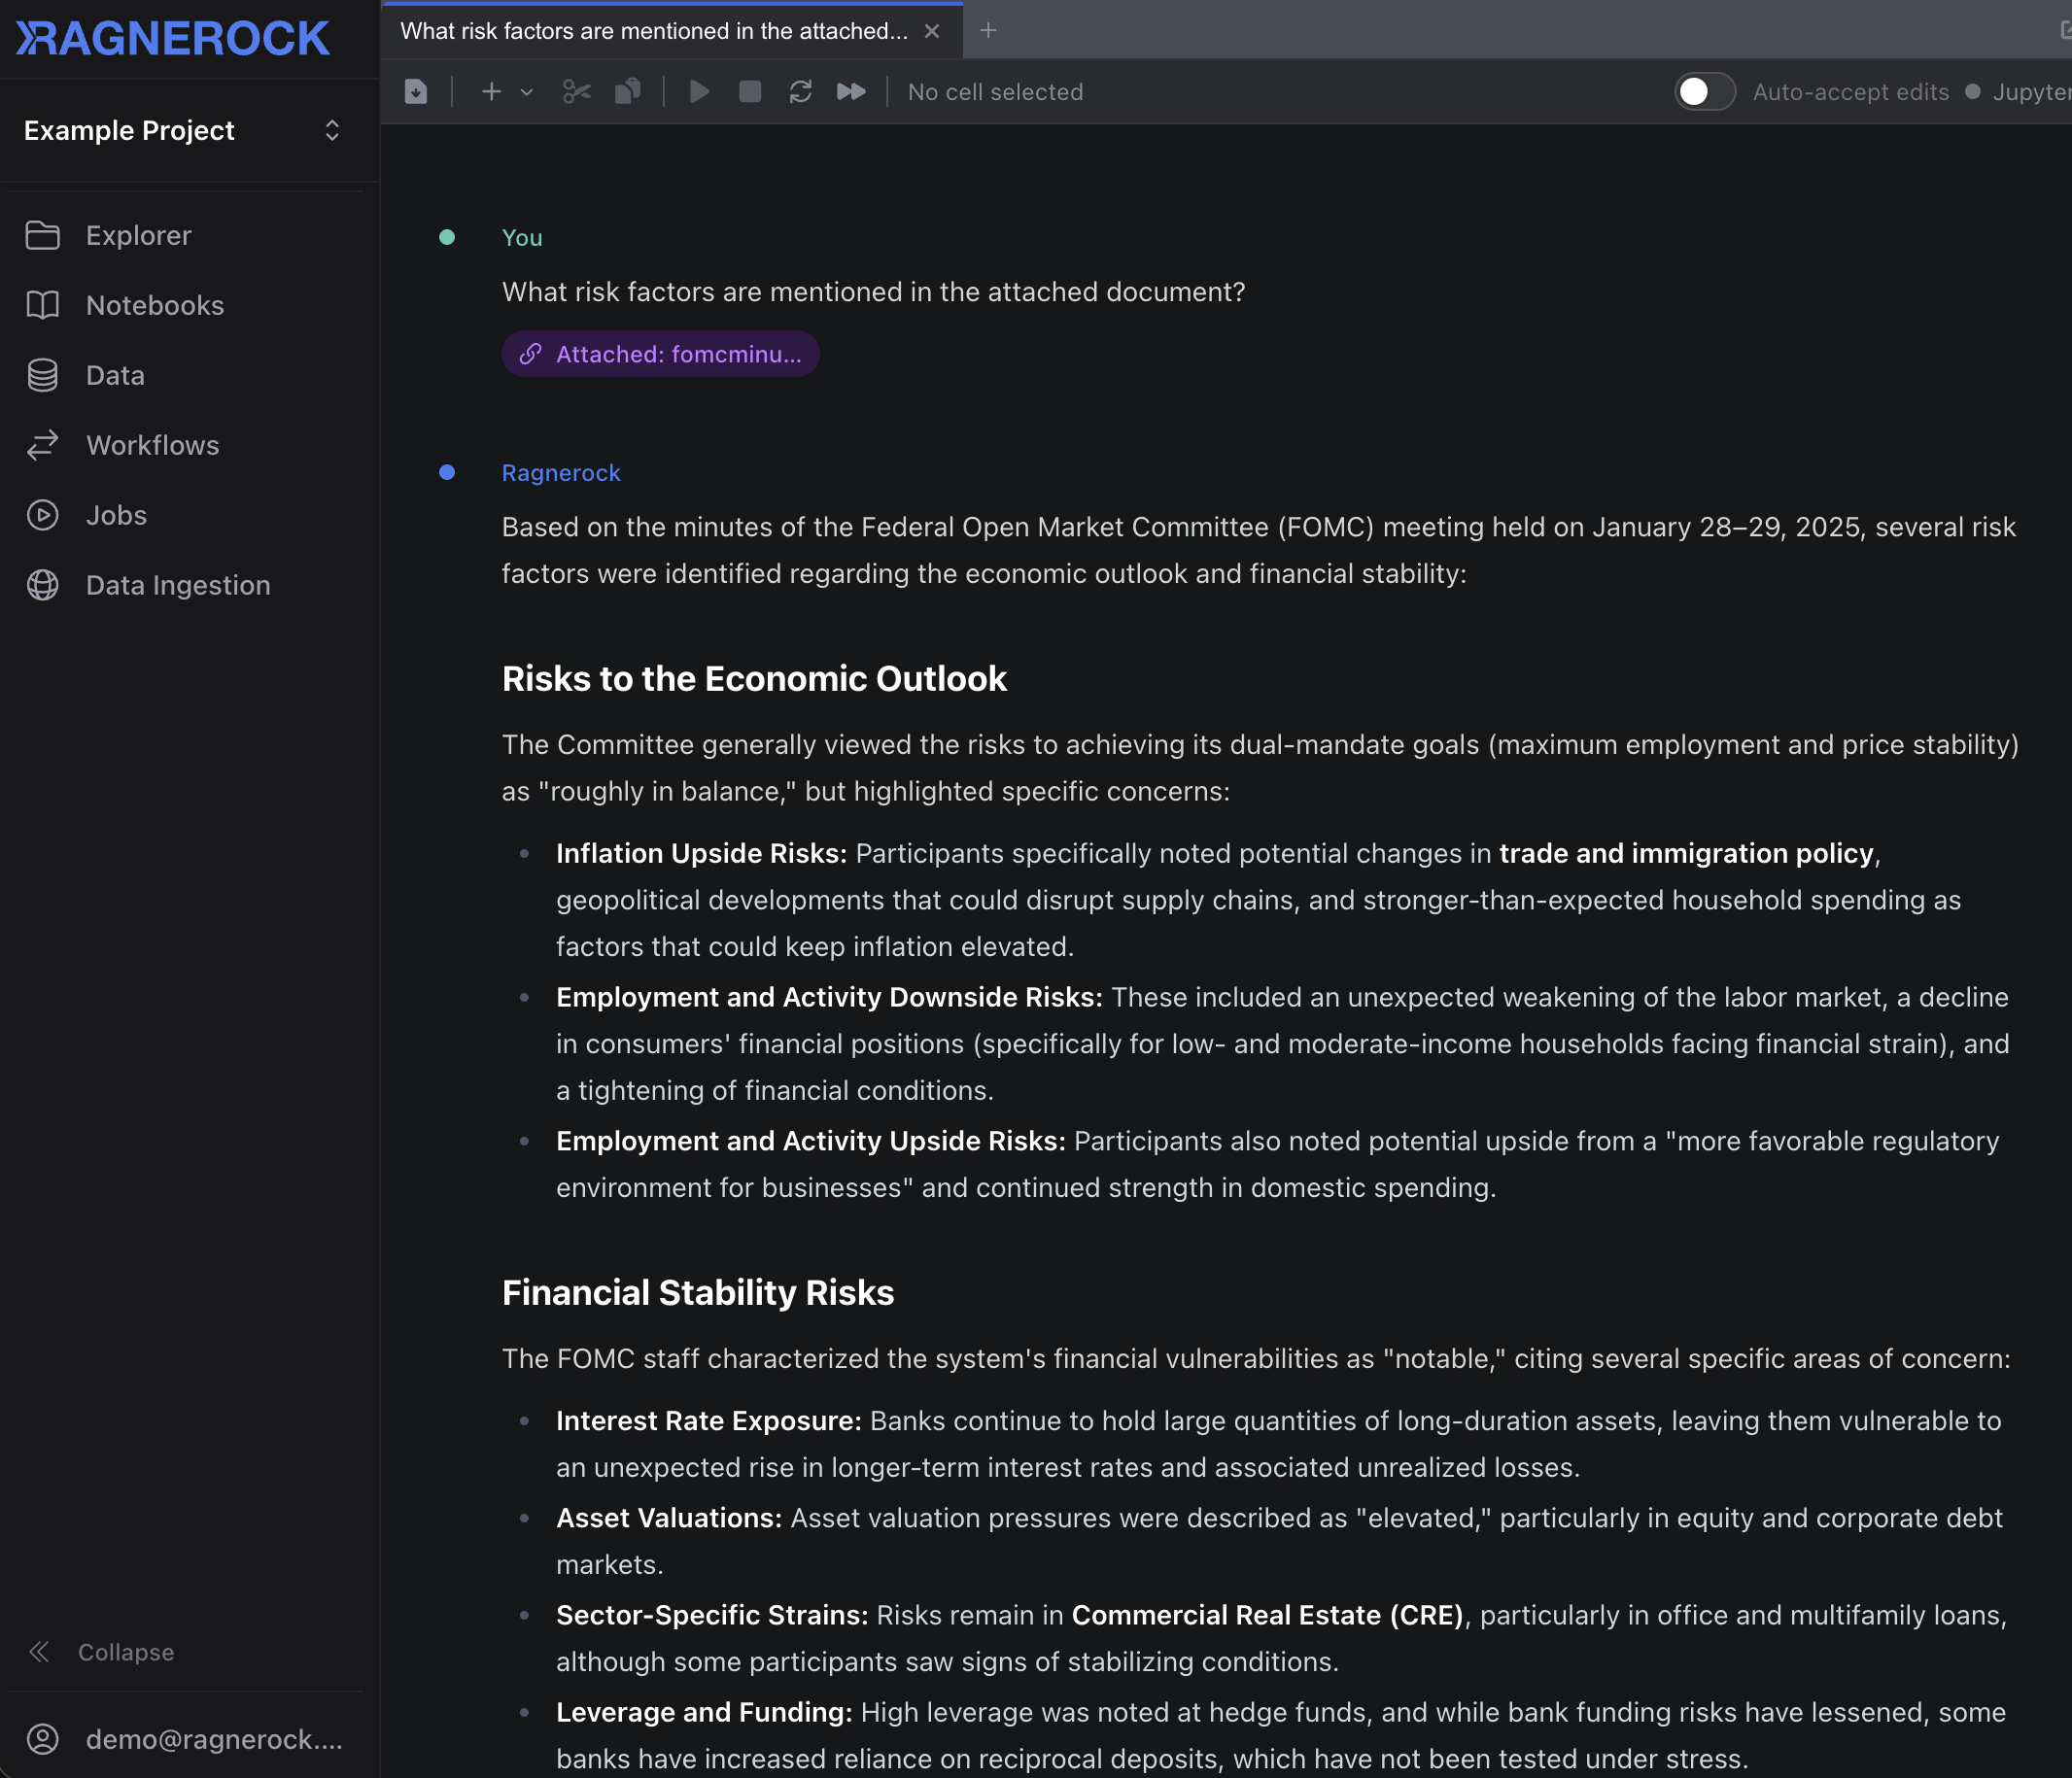
Try something like:
What are the most significant risk factors mentioned in this filing?
The Research Agent searches through your document, finds the relevant passages, and responds with a synthesized answer. You’ll see the response stream in. The agent formats its output with clear headings, bullet points, and most importantly, citations that link back to the original text.
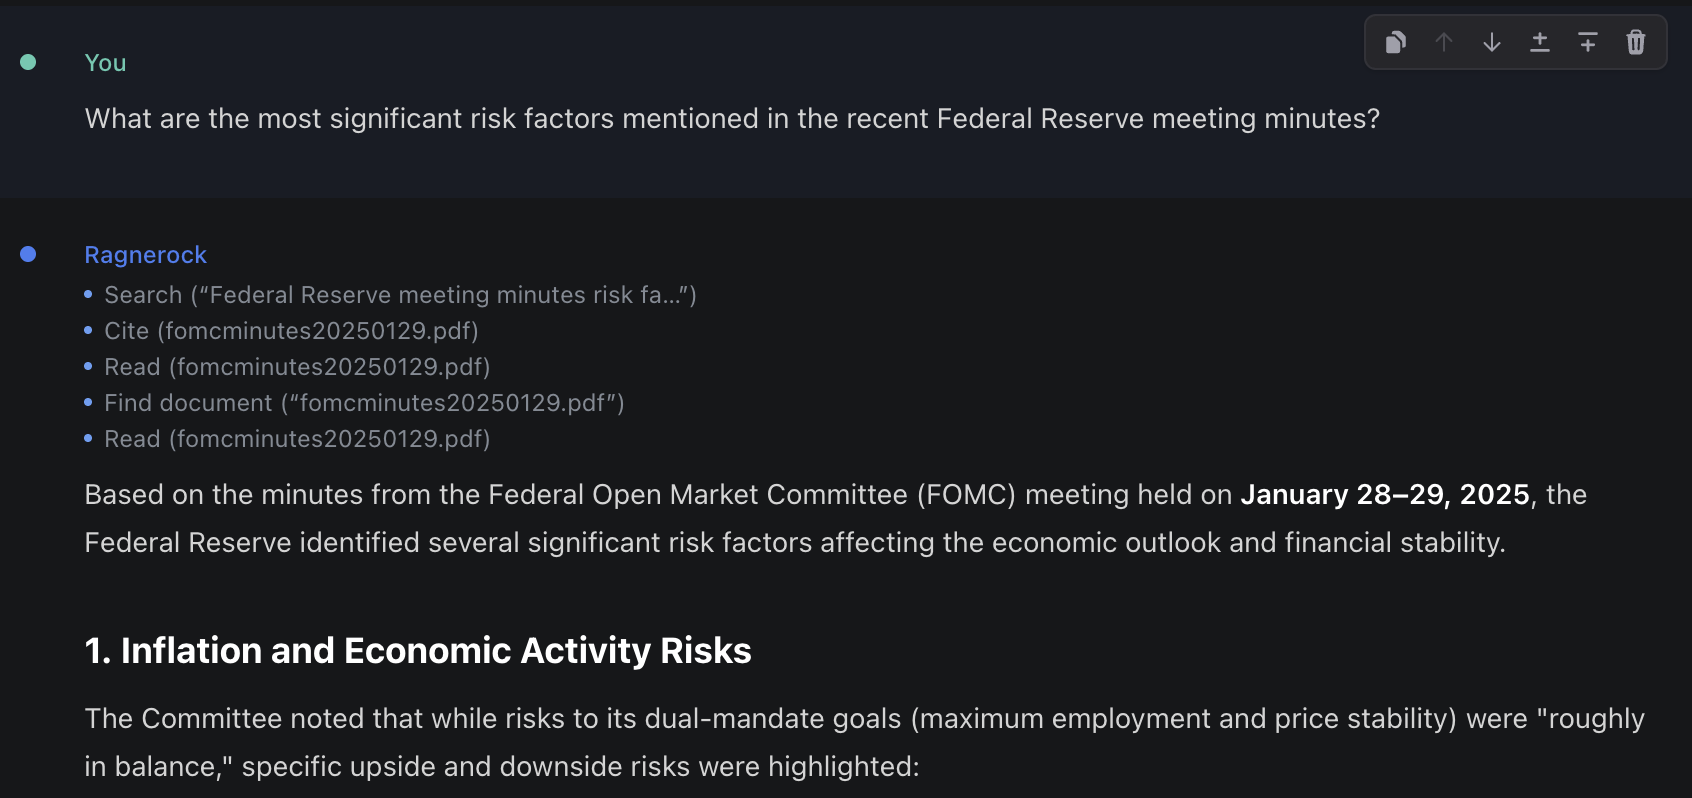
Here are a few more questions worth trying:
Summarize the revenue breakdown by business segment.
What does management say about their competitive position?
Are there any pending legal proceedings discussed in this filing?
Each follow-up message builds on the conversation context. If you asked about risk factors first, you can follow up with:
Which of those risk factors are new compared to the prior year’s filing?
The agent remembers what you’ve discussed and refines its analysis accordingly. Learn more about what the Research Agent can do on the Notebooks page.
6. View Citations
Every claim the Research Agent makes is backed by citations, references to specific passages in your source documents. This is fundamental to how Ragnerock works, because in financial research, you need to verify every insight against the original source.
In the agent’s response, you’ll see citation markers. Click on any citation to:
- See the original text: the exact passage from the document that supports the claim
- Jump to the source: navigate directly to the page and location in the original document
- Verify the context: read the surrounding text to ensure the excerpt hasn’t been taken out of context
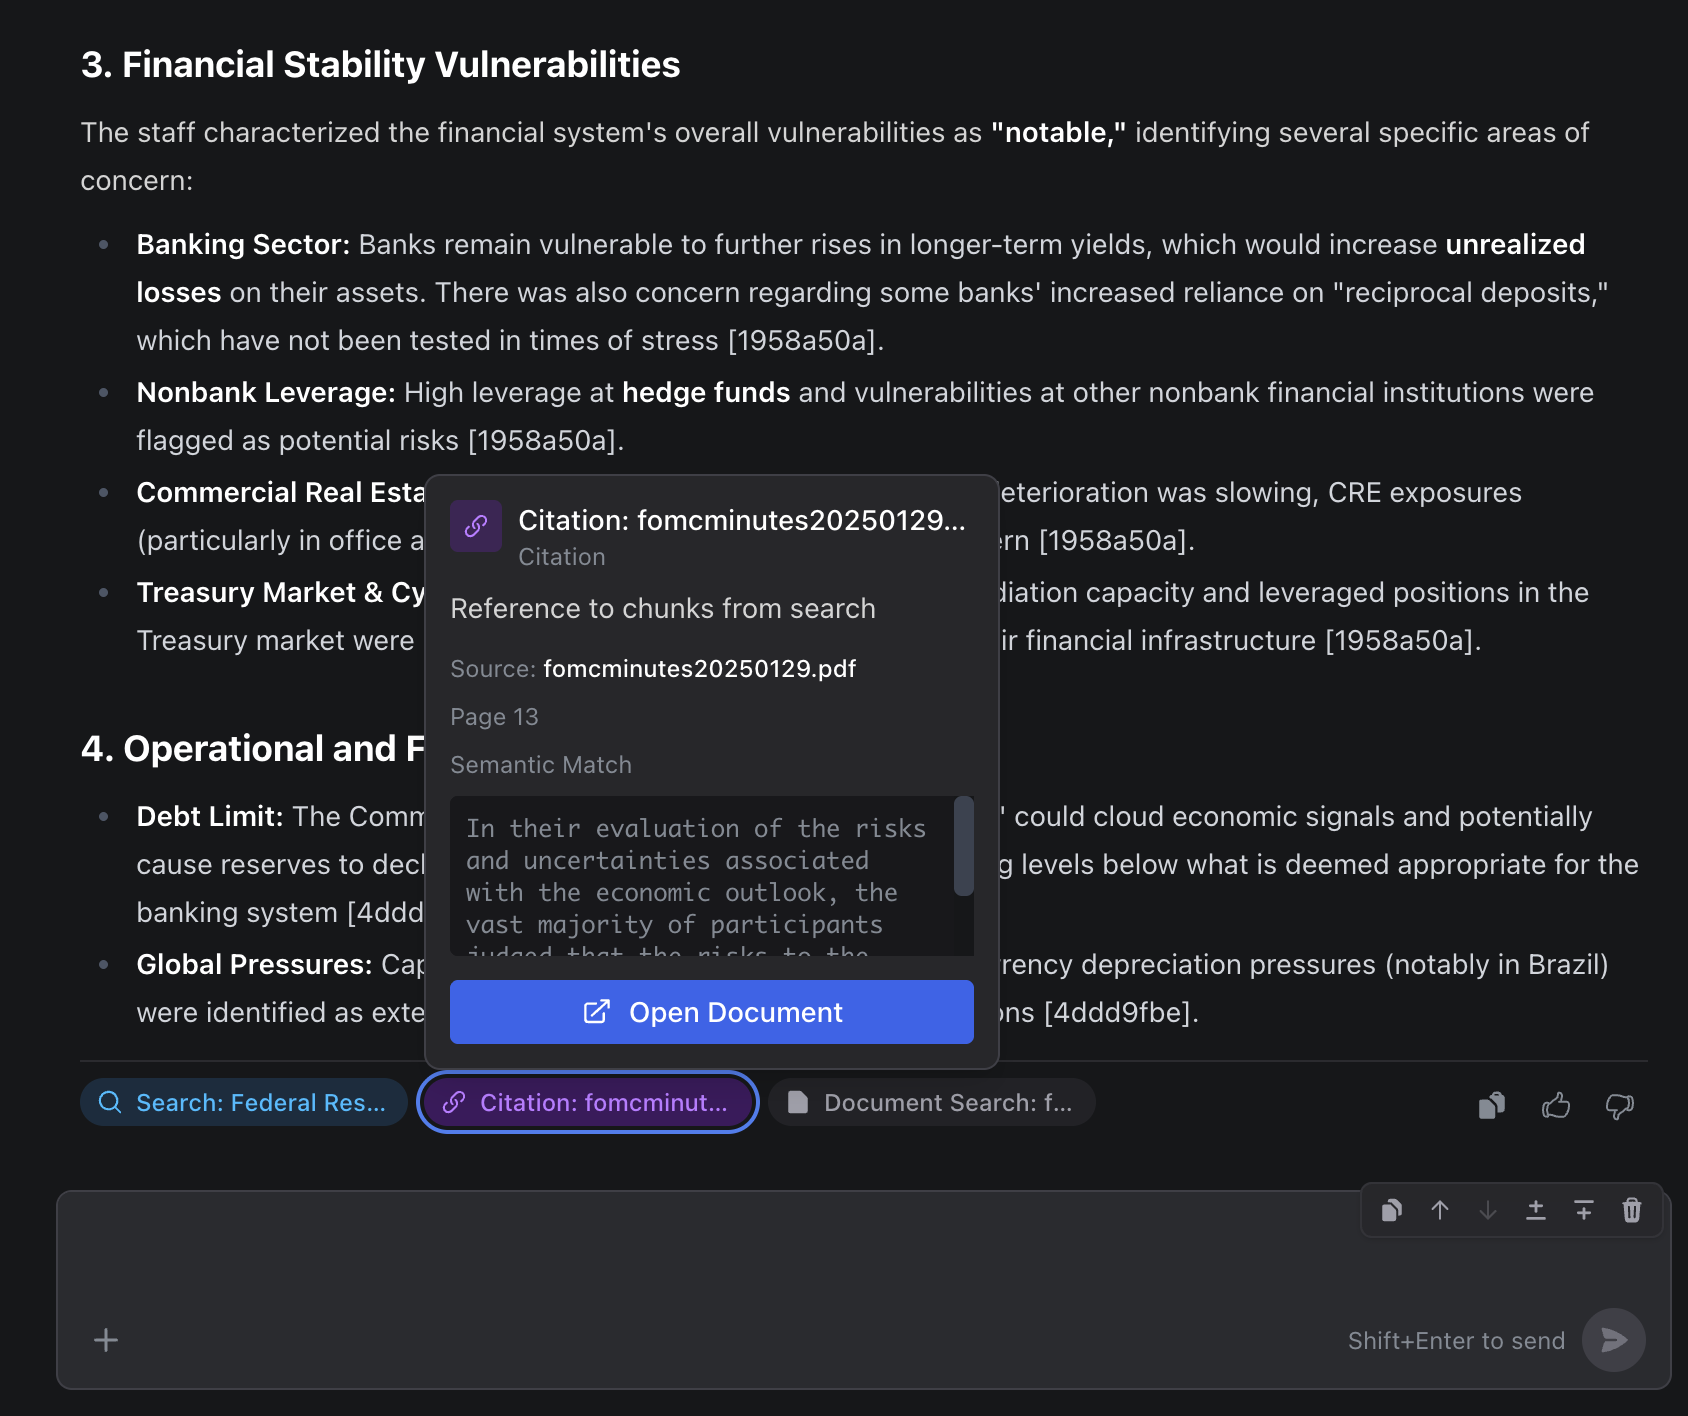
For example, when the agent says “Apple reported $383.3 billion in net sales,” you can click through to the exact line in the 10-K that states that figure.
7. Run a Query
Every Ragnerock project includes built-in tables you can query immediately with SQL. Open the Query Explorer from the sidebar and try these queries:
SELECT name, file_type, created_at
FROM documents
ORDER BY created_at DESC
This lists all documents in your project. You can also query the document_metadata table, which is a default operator included in every project:
SELECT *
FROM document_metadata
LIMIT 10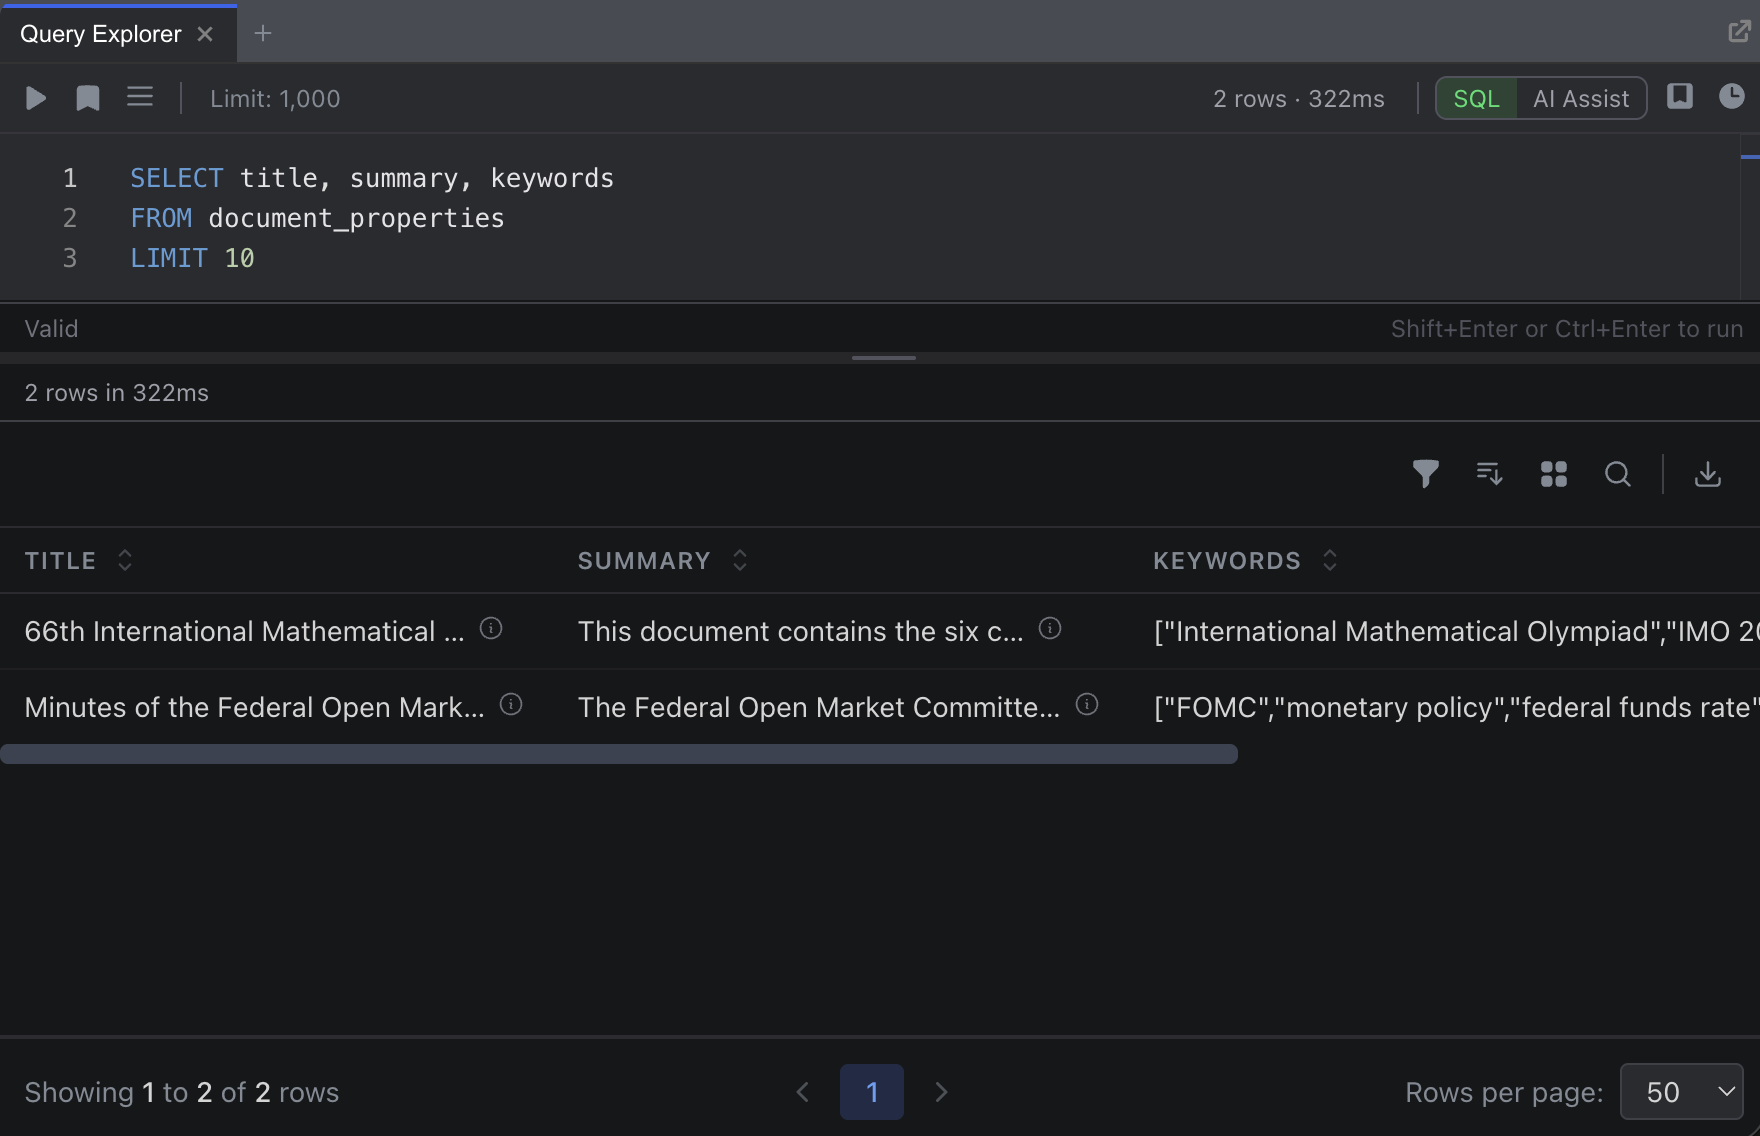
Click Run (or press Shift+Enter) to execute the query. Results appear in a table below the editor with row counts and execution time.
You can also run queries from inside a notebook by adding a Query cell. The results become a DataFrame artifact that you can import into code cells for further analysis.
8. Create Your First Operator
Now that you’ve explored your data interactively, let’s operationalize a simple analysis. Operators define structured outputs that Ragnerock produces for every document you process.
Navigate to the Workflows section in the sidebar, click Operators, then New Operator.
Configure the operator:
- Name:
filing_summary - Description: “Extract basic filing metadata”
- Scope: Select Document from the dropdown
In the schema builder, add these fields:
| Field | Type | Constraints | Description |
|---|---|---|---|
company_name | string | required | Full legal name of the filing company |
filing_type | enum | required; values: “10-K”, “10-Q”, “8-K”, “proxy”, “other” | SEC filing type |
fiscal_year | string | required | Fiscal year (e.g., “FY2024”) |
Write a generation prompt:
Identify the company name, filing type, and fiscal year from this SEC filing.
Use the full legal name as it appears in the filing header.
Classify the filing type based on the document header and content.
For fiscal_year, use the format "FY2024" for the most recent year discussed.
Click Save, then create a workflow with this operator and run it on your document. Check the Jobs dashboard for progress. Once complete, query your results:
SELECT document_name, company_name, filing_type, fiscal_year
FROM filing_summary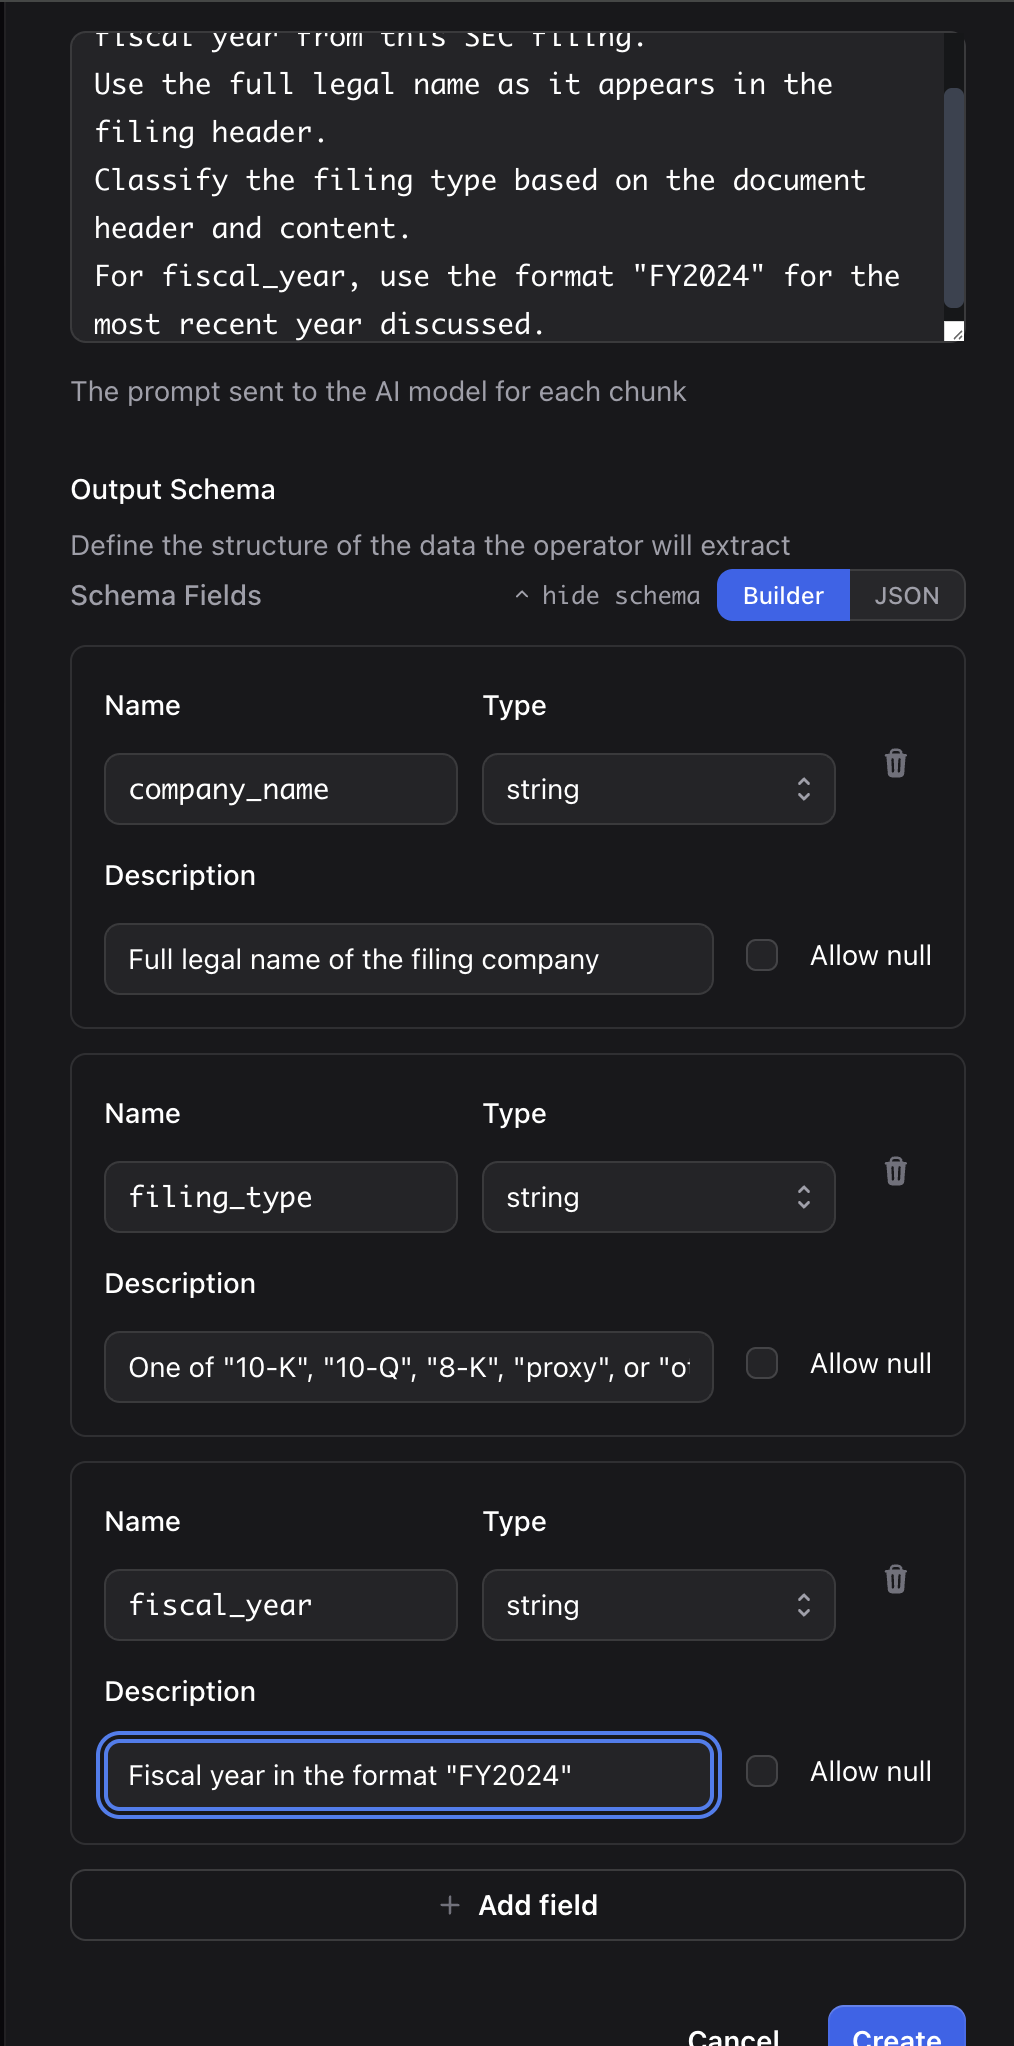
For more on operator design, see Operators and Workflows.
9. Export Your Results
Once you’ve found insights worth keeping, any DataFrame artifact in a notebook (from agent responses or query cells) can be imported into a Python variable for further analysis. This requires connecting your notebook to a JupyterLab kernel. Once connected, click the artifact badge and select Import. The data becomes immediately available:
# After importing a DataFrame artifact as `risk_factors`
import pandas as pd

df = pd.DataFrame(risk_factors)
print(f"Total risk factors identified: {len(df)}")
print(df.groupby('category').size().sort_values(ascending=False))
This workflow (ask questions, get structured data, analyze programmatically) is the core notebook loop. You move fluidly between natural language exploration and quantitative analysis without leaving the workspace.
What You’ve Accomplished
You’ve now completed the full Ragnerock workflow:
- Signed in and selected a project
- Uploaded a document and watched it get processed into searchable chunks
- Explored the document in the viewer
- Asked questions using the Research Agent in a notebook
- Verified citations linking agent responses to source text
- Queried built-in tables and your own operator results with SQL
- Created an operator to extract structured data from your documents
- Exported results for downstream analysis
This is the foundation for everything else in Ragnerock. From here, you can scale up: upload entire data libraries, build multi-stage workflows, and process hundreds of documents automatically.
Next Steps
- Dive deeper into Data Sources to learn about data management, processing, and organization
- Learn how Annotations work with operators and workflows
- Explore Notebooks to master the interactive research workflow
- Set up custom extraction with Operators and Workflows