Workspace Administration
Manage users, teams, roles, and permissions in your Ragnerock workspace.
Ragnerock provides a layered access control system for managing who can do what in your workspace. Account-level administration handles user and team management, while a policy-based IAM system gives you fine-grained control over resource permissions.
Account Roles
Every user in your account has one of two account-level roles:
| Role | Description |
|---|---|
| Admin | Full account management. Can create users, manage all teams, and configure account settings. |
| User | Standard user. Can access projects via team membership and create teams. |
Account Owner
One Admin is designated as the Account Owner. The Account Owner has a special protection invariant:
- The Owner is always an Admin and cannot be demoted to User
- The Owner cannot be deactivated or removed from the account
- Ownership can only change via an explicit transfer
This ensures that every account always has at least one active administrator.
Permission Matrix
The following table shows which actions are available to each role. Team Admins have elevated permissions within their own teams.
| Action | Account Admin | Team Admin | User |
|---|---|---|---|
| Create user accounts | ✓ | ✗ | ✗ |
| Deactivate/remove users | ✓ | ✗ | ✗ |
| Set user account role | ✓ | ✗ | ✗ |
| Create teams | ✓ | ✓ | ✓ |
| Delete any team | ✓ | ✗ | ✗ |
| Delete own team | ✓ | ✓ | ✗ |
| Add users to any team | ✓ | ✗ | ✗ |
| Add users to own team | ✓ | ✓ | ✗ |
| Remove users from any team | ✓ | ✗ | ✗ |
| Remove users from own team | ✓ | ✓ | ✗ |
| Set team member roles | ✓ | ✓ (own team) | ✗ |
| Add projects to any team | ✓ | ✗ | ✗ |
| Add projects to own team | ✓ | ✓ | ✗ |
| View team members | ✓ | ✓ | ✓ (own teams) |
| Leave team voluntarily | ✓ | ✓* | ✓ |
| Access project data | ✓ | ✓ | ✓ (via team) |
* Team Admins cannot leave if they are the last explicit admin on the team.
Managing Users
Account Admins can manage users from the Settings > Users page. This page lists all users in the account with their email, role, and active status.
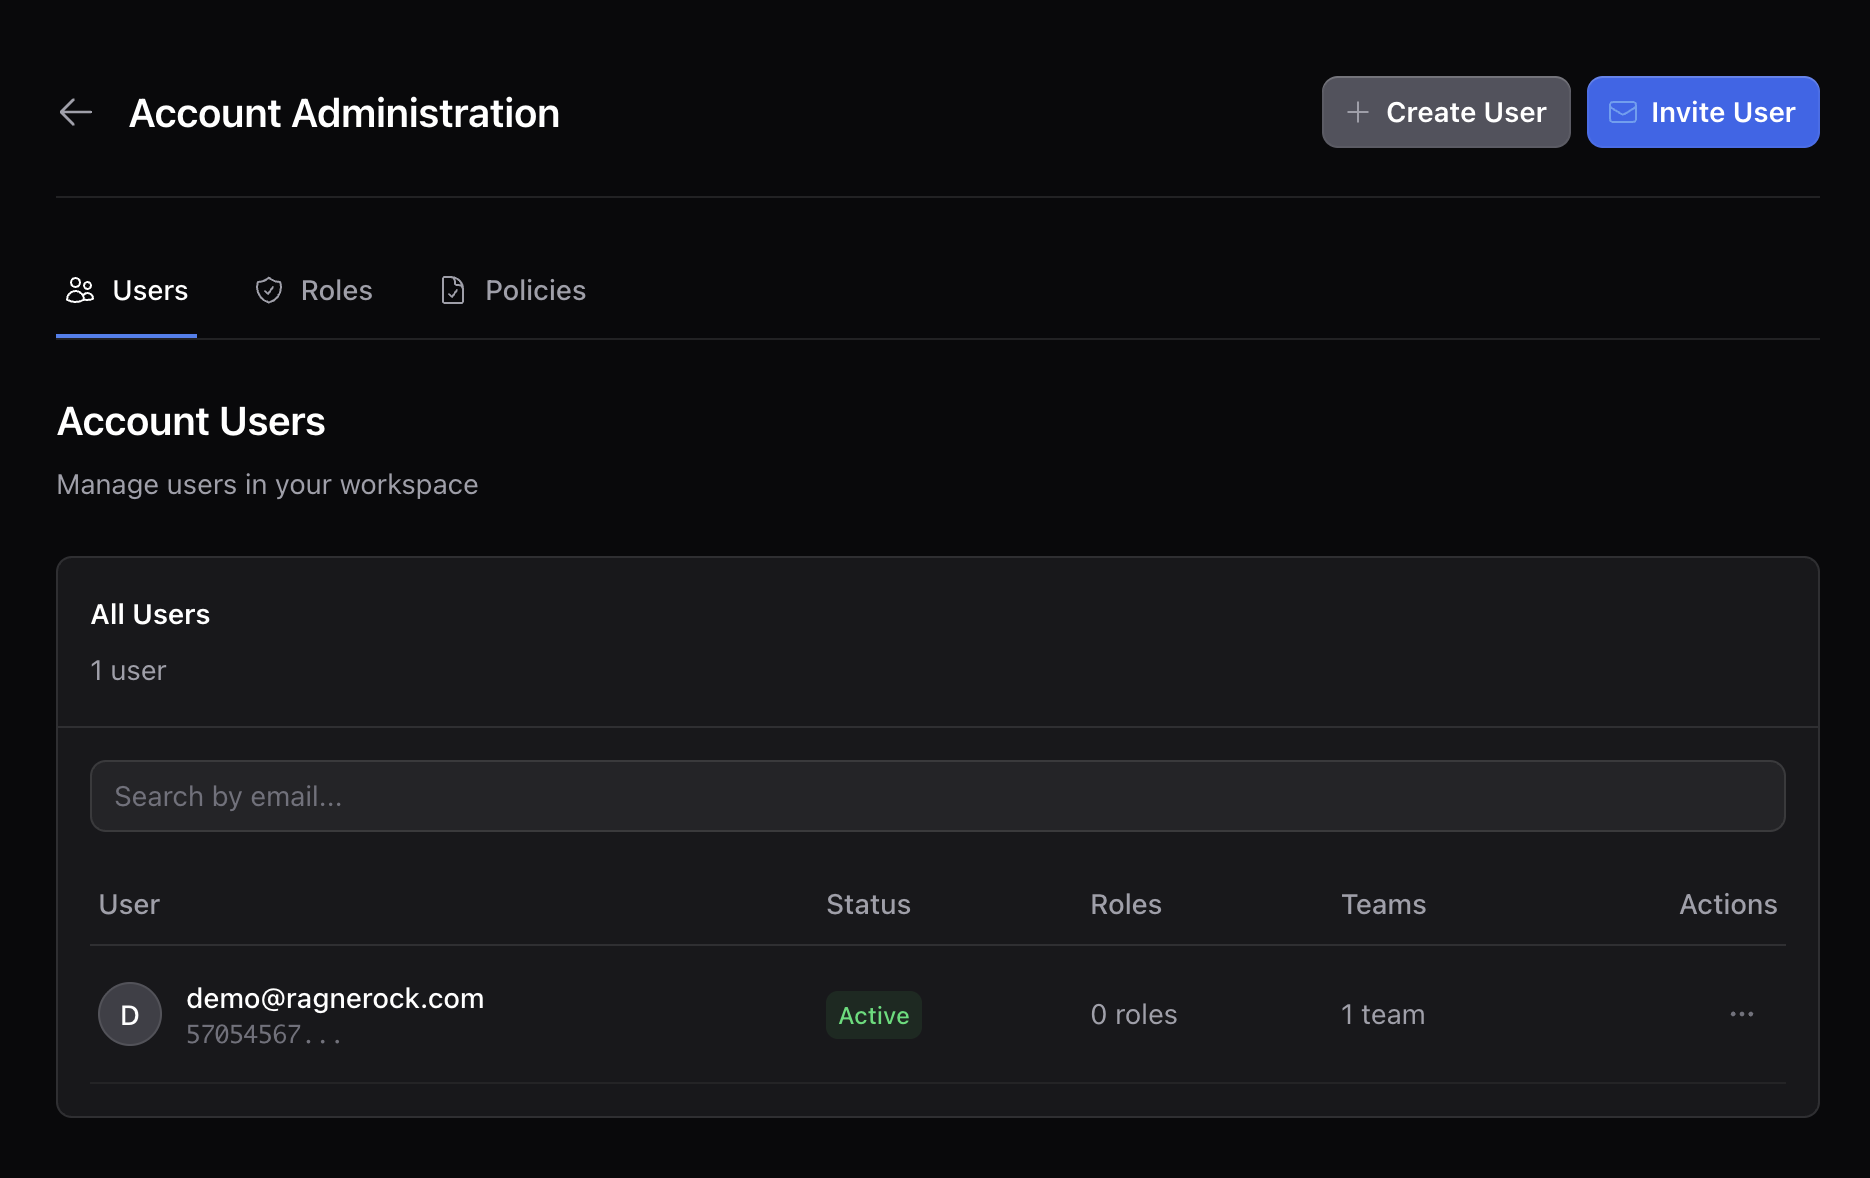
Creating Users
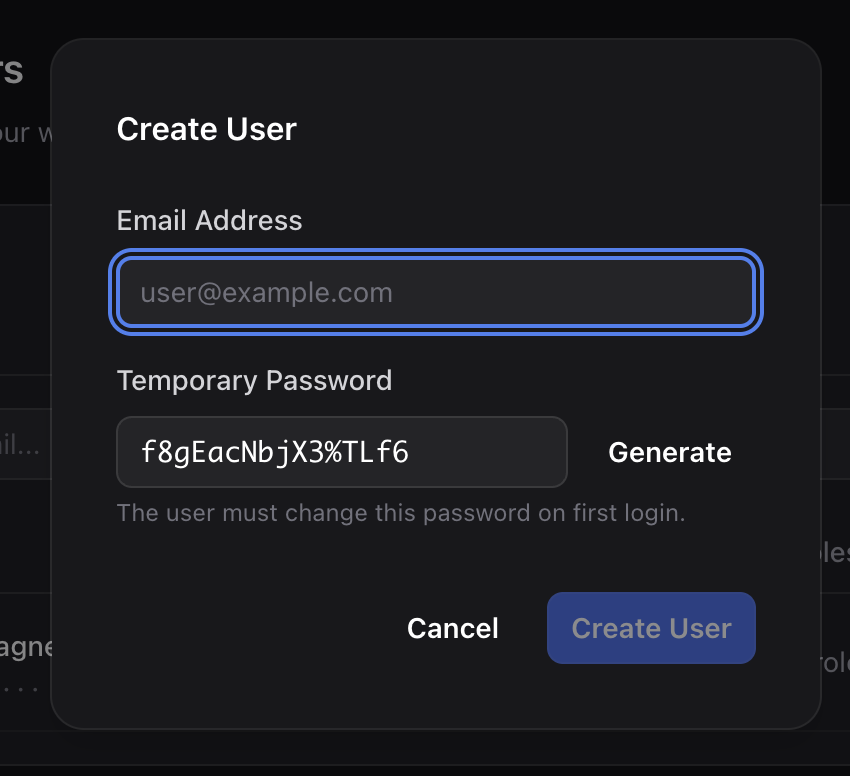
To add a new user, click Add User at the top of the users list. You can either:
- Create with a temporary password: Enter the user’s email and a temporary password. The user will be required to change their password on first login.
- Invite by email: Enter just the email address and click Send Invite. The user receives a signup link.
Setting a User’s Role
Click on a user in the list to open their detail panel. Use the Role dropdown to switch between Admin and User. The Account Owner cannot be demoted; the control is disabled for the owner account.
Deactivating and Reactivating Users
In the user detail panel, click Deactivate to remove the user from all teams and prevent them from logging in. To restore a deactivated user, click Reactivate. Deactivation will fail if the user is the last admin on any team or is the Account Owner.
Managing Teams
Teams control project access. Users can only access projects that are assigned to their teams.
Navigate to Settings > Teams to see all teams in your account. Each team card shows the team name, member count, and assigned projects.
Creating Teams
Click New Team and enter a name and optional description. The creator automatically becomes the team’s Admin. Any user can create a team.
Adding and Removing Members
Click on a team to open its detail panel. In the Members tab, click Add Members and search for users by email. To remove a member, click the remove button next to their name.
Self-Service Team Operations
Users can voluntarily leave any team they belong to. However, the last explicit Team Admin cannot leave. Another admin must be promoted first or the team must be deleted.
IAM: Fine-Grained Permissions
Beyond account and team roles, Ragnerock’s IAM system provides fine-grained, policy-based access control. IAM lets you define exactly which users, roles, or teams can perform which actions on which resources.
How IAM Works
The IAM system has three core concepts:
- Policies define permissions by granting a set of verbs on a set of resources to a set of principals
- Roles are named groupings of users that can be referenced as principals in policies
- Teams can be assigned roles, and team members inherit the role’s permissions transitively
When a user makes a request, Ragnerock computes their effective permissions by collecting all policies that apply to them: directly, through roles they belong to, or through teams they’re on (including transitive team-to-role relationships).
Verbs
IAM verbs define the types of actions that can be granted:
| Verb | Description |
|---|---|
get | Read or retrieve an individual resource |
list | Enumerate a collection of resources |
create | Create a new resource |
update | Modify an existing resource |
delete | Remove a resource |
execute | Run or invoke a resource (workflows, jobs) |
Resources
Resources are organized into two scopes:
Account-level resources: administrative resources scoped to the account:
team, role, user, policy, project, billing, byoai, byodb, byobs
Project-level resources: data and operations within a project:
document, annotation, workflow, job, notebook, artifact, operator, documentgroup, notebookcell, page, query, resource_folder, ingest, website, tool
Resource patterns support wildcards. For example, document/* grants access to all documents, and * grants access to everything.
Principals
Policies are attached to principals, which identify who receives the permissions:
| Type | Format | Example |
|---|---|---|
| User | user:{email} | user:alice@company.com |
| Role | role:{account_id}:{role_name} | role:abc123:Senior Analyst |
| Team | team:{account_id}:{team_name} | team:abc123:Equity Research |
Creating Policies
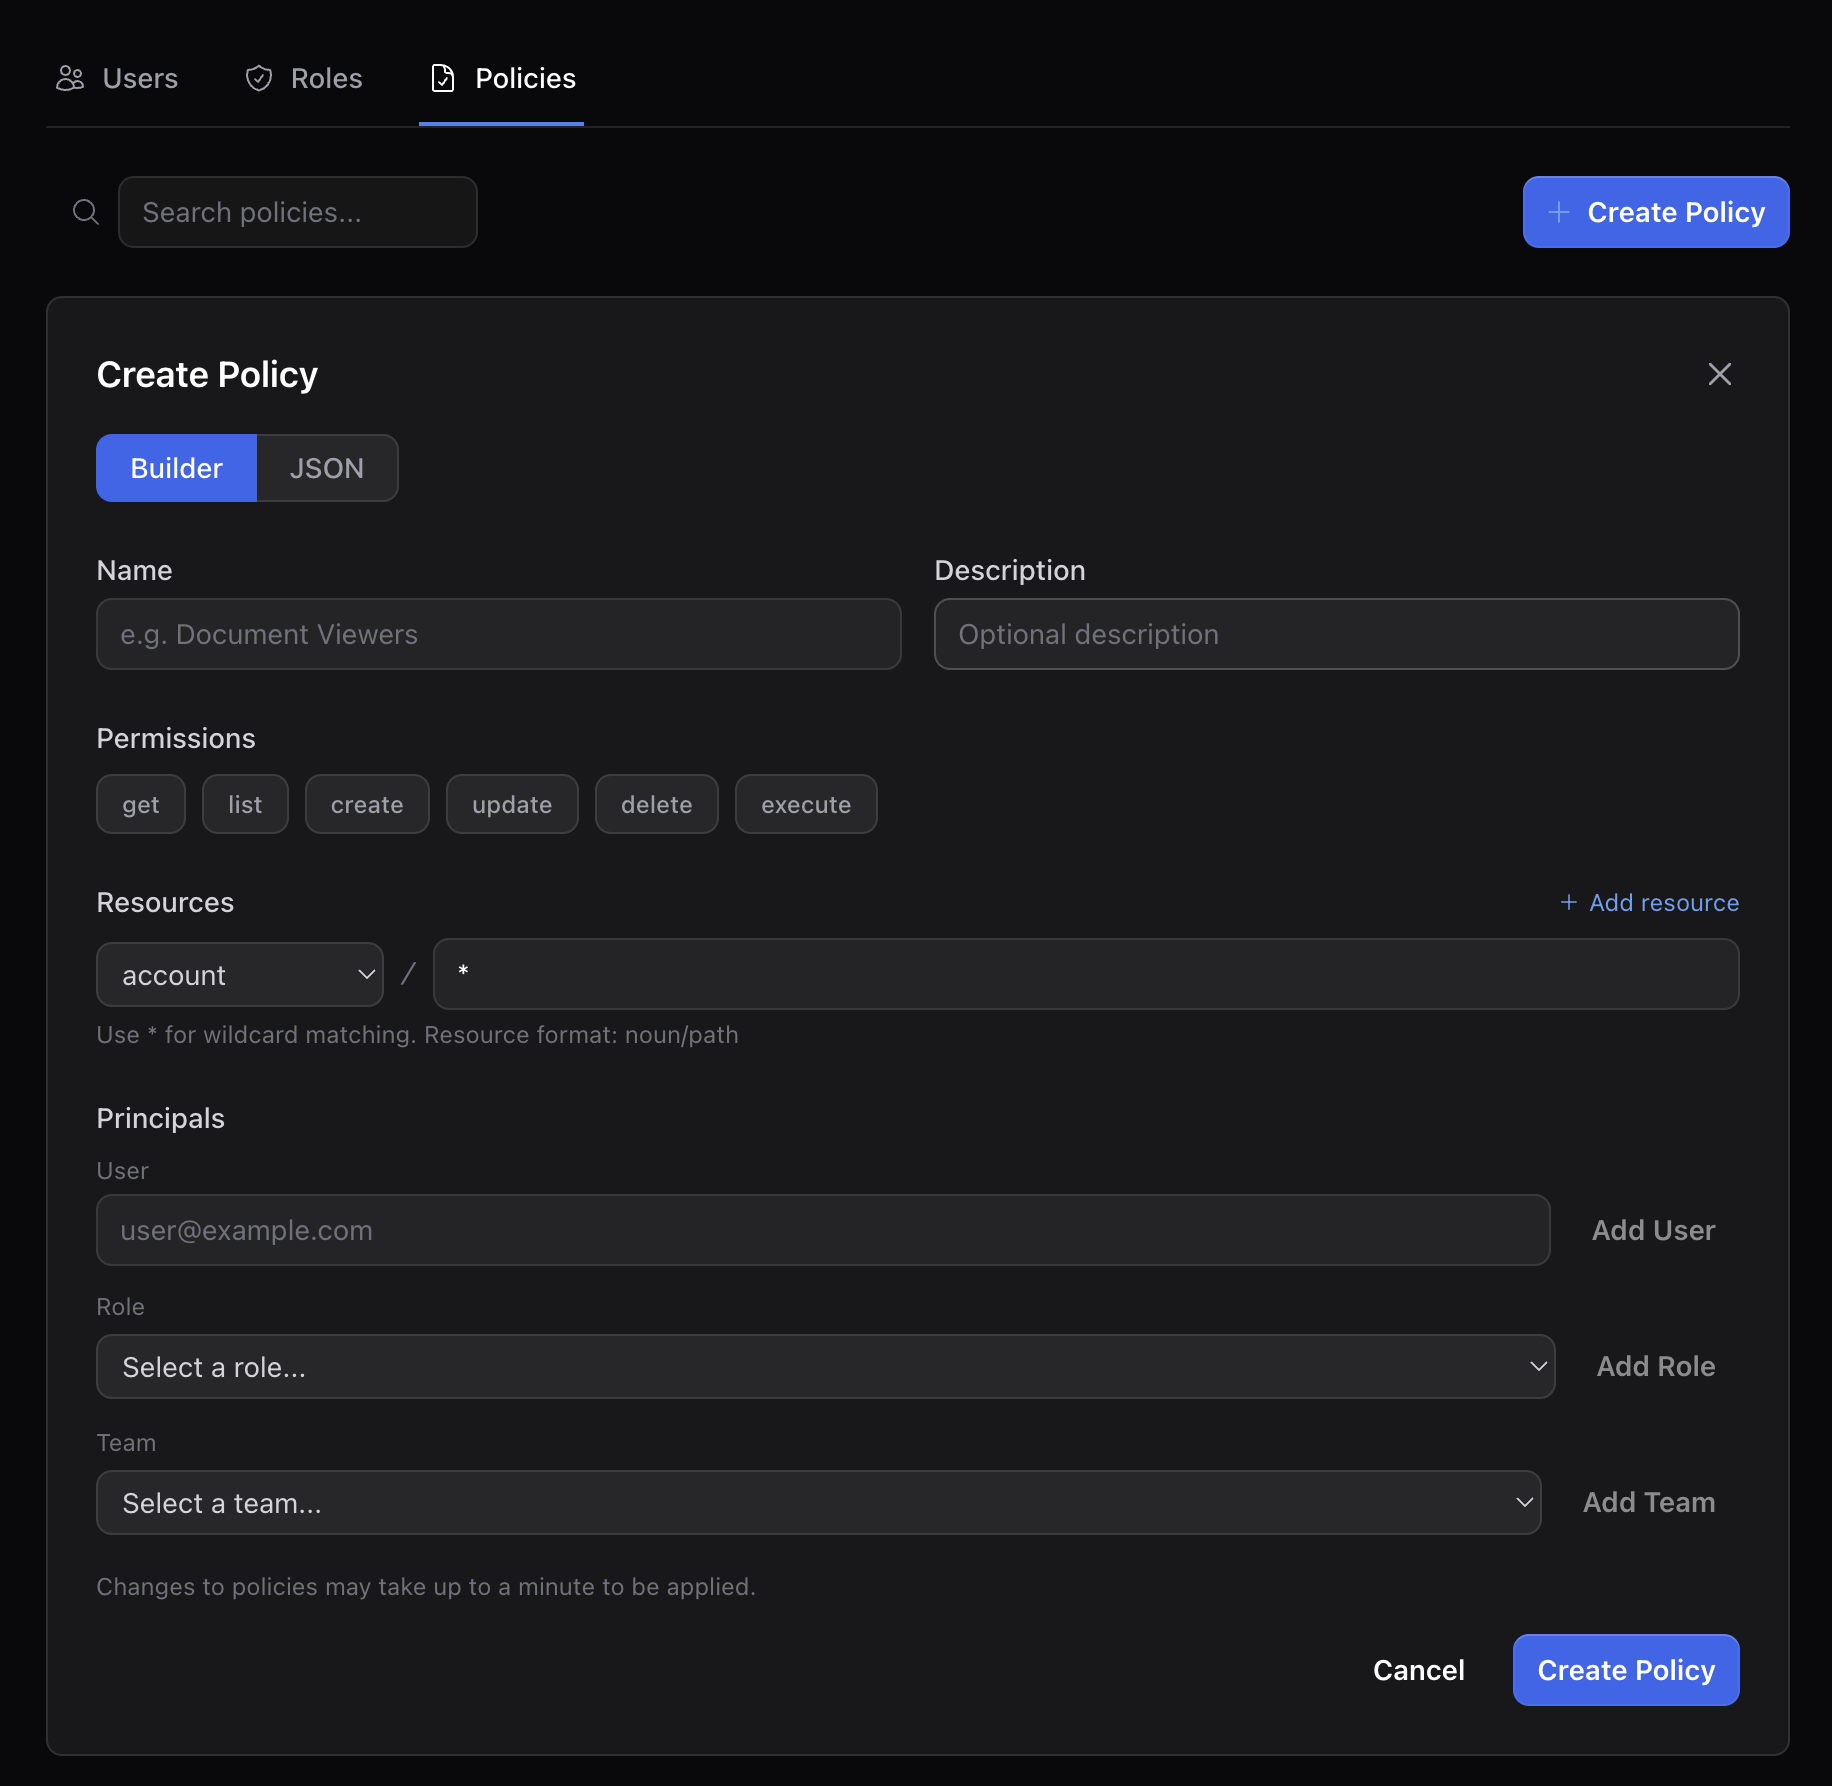
Navigate to Settings > IAM > Policies tab. Click New Policy to open the policy editor.
- Enter a name and optional description
- Select resources: choose from the resource list or type a pattern with wildcards (e.g.,
document/*) - Select permissions: check the verbs to grant (get, list, create, update, delete, execute)
- Add principals: search for users, roles, or teams to attach the policy to
- Click Save
Managing Roles
Navigate to Settings > IAM > Roles tab. Click New Role to create a role with a name and optional description. Open a role to view and manage its members. Add members by searching for users by email, or remove existing members.
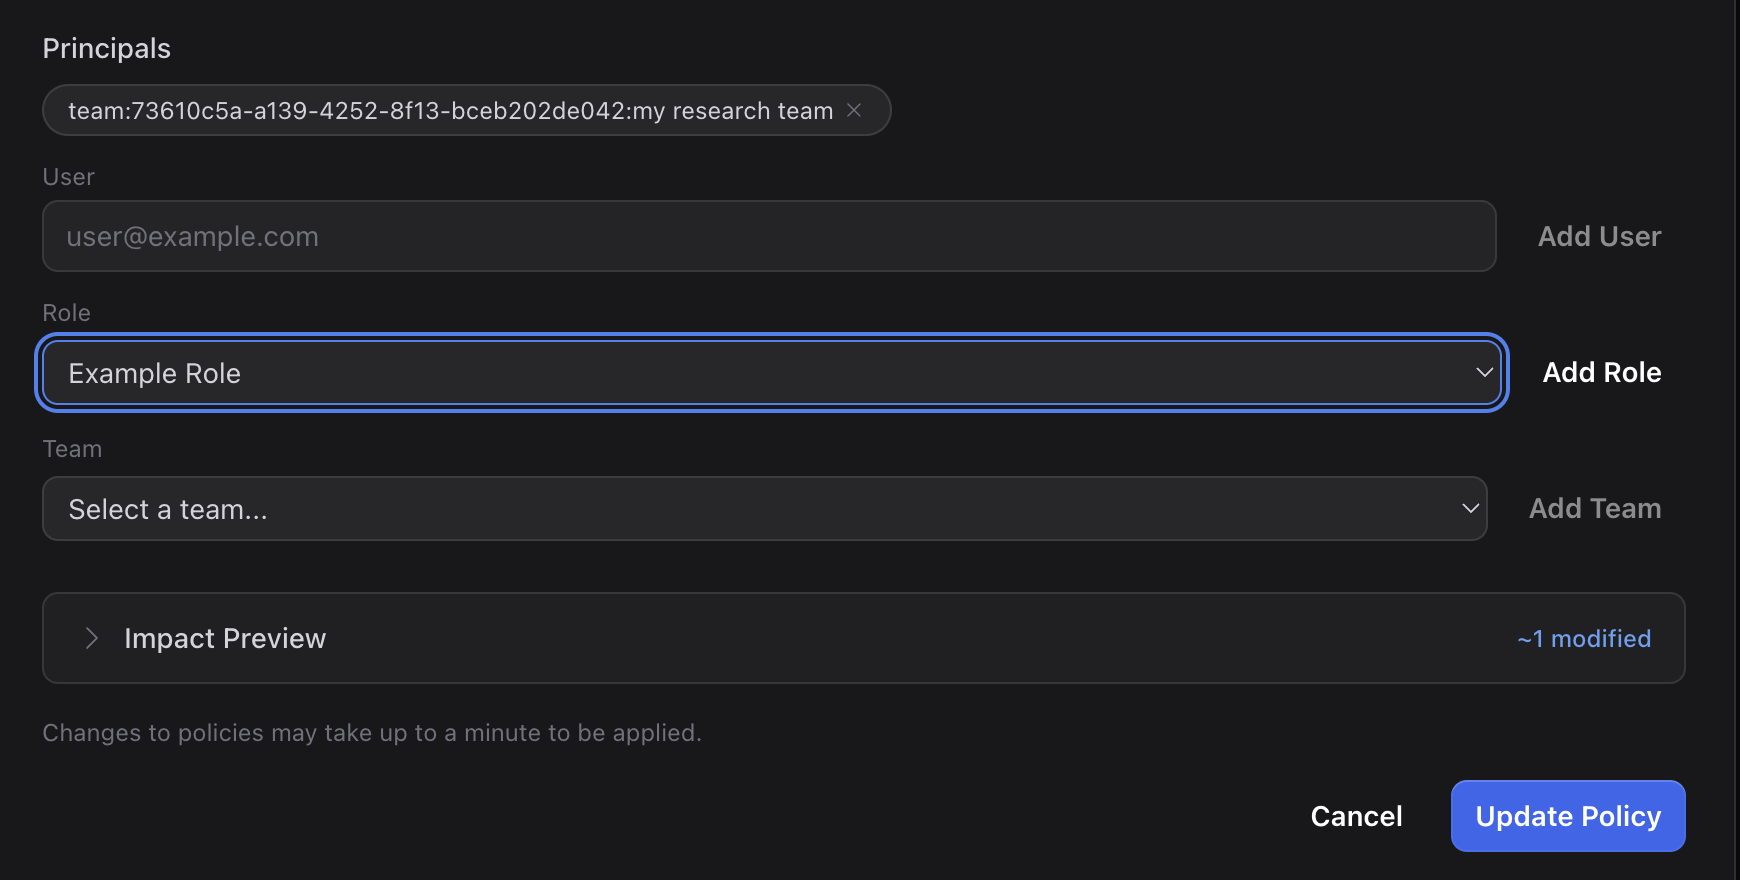
Assigning Roles to Teams
In the team detail panel (Settings > Teams > click a team), open the Roles tab. Click Assign Role to grant a role to the team. All team members inherit the role’s permissions.
Updating and Deleting Policies
Click on a policy in the Policies tab to edit it. Update any field and click Save. To delete, click the Delete button. System-created policies are protected and cannot be deleted.
Checking Permissions
You can inspect the current user’s effective permissions from the Settings > IAM > My Permissions tab, which shows all granted permissions organized by resource.
Next Steps
- Bring Your Own AI: Configure your own AI provider
- Bring Your Own Database: Store data in your own database
- Bring Your Own Storage: Store files in your own cloud storage